
Ever wonder how restaurants get those picture-perfect puffed pooris every single time? The secret? A few tiny tricks you’ll wish you knew sooner.
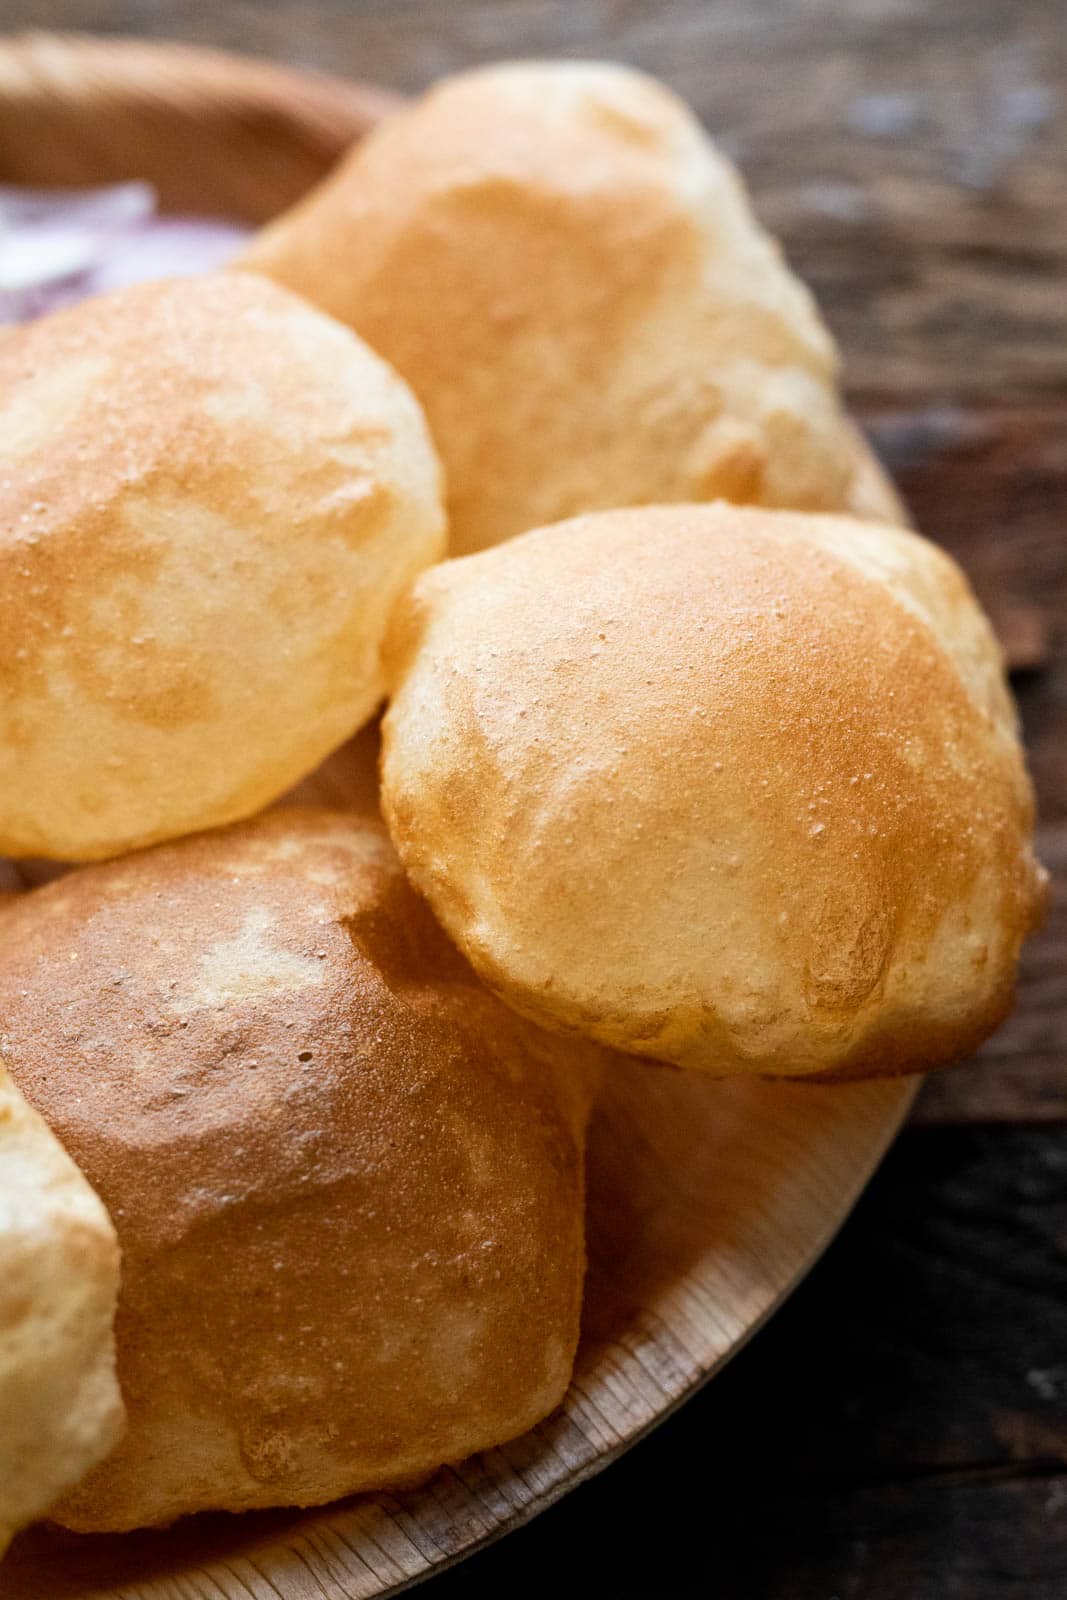
There’s a special kind of joy in watching a poori puff up, like a golden little balloon rising out of hot oil. If you’ve always thought pooris are only something expert home cooks can pull off, this is your sign to give them a try.
And honestly? They’re way easier than they look. With the right dough, a few simple rolling tricks, and hot oil at just the right temperature, you’ll be dishing out light, airy pooris that stay crisp on the outside and soft inside. This step-by-step guide will walk you through everything, even if it’s your very first time making them.
Jump to section: Perfect Pooris
Steps To Perfect Pooris
We did several trials to perfect this poori recipe and found out the the secret to making great pooris lies in these three things –
- How to make the Dough + resting time
- How to roll out the puris to ensure the oil remains clean and there are no burnt bits
- How to fry them so they puff up and puris are light, not oily
Poori Ingredients
For the Dough
- Whole wheat flour (atta) – the base of your dough
- Sooji (semolina) – optional, adds crispiness and helps pooris stay puffed longer
- Salt – for flavour
- Water – to bring the dough together (just enough to make a stiff dough)
- Oil (for the dough) – kneaded in at the end to make the dough smooth
For Frying
- Oil (for deep frying) – about 1½ to 2 cups; choose an oil with a high smoke point like sunflower or rice bran oil (so the pooris fry crisp without soaking up too much oil)
Dough for Poori
Poori dough is made in the same way as the dough for rotis but with a lot less water. It has a comparatively stiff texture as opposed to the soft dough for rotis.
The two main ingredients for the poori dough are atta (whole wheat flour) and water.
The key is to make the dough stiff. It should be kneaded well but without adding a lot of water. The stiff dough is what makes it easy to roll pooris and helps the poori puff up properly.
More Tips To Perfect The Poori Dough
- If the dough is too dry and doesn’t come together, add water one teaspoon at a time till it comes together
- Once the dough has been kneaded well, add a teaspoon of oil and knead again for a minute or two – this makes the dough smooth
- Also, poori dough shouldn’t be rested for too long – just five to ten minutes will do
Recipe Tip
You can add a small amount of sooji in this dough. Sooji makes pooris crisper and keeps them that way for longer – most restaurants add some sooji to their puri or bhatura dough. That’s how I’ve shown the recipe in the video, but to be honest, we rarely add sooji to our dough when making puris at home. So you can skip the sooji if you prefer it that way.
Rolling out Pooris
Ideally puris should be round or oval in shape, but there is no judgement here. Even after years of practice, sometimes I still dish out puris in all sorts of shapes.
- In the video below, I’ve demonstrated how to make puris which are roughly the size of my palm. The thickness of the poori should approximately be about 1 mm (shown in video). If they end up being too thin, they won’t puff up properly. Too thick and they won’t cook well.
- Dip the ball of dough in a tiny amount of oil before rolling it out. The oil helps grease the dough and makes it easier to roll them out without sticking. Avoid using dry flour to dust puris (like we do for rotis). When dry flour comes in contact with hot oil, the flour particles will just burn and leave burn bits in your oil. And that’s an unpleasant taste. It’s important that the oil remains clean as we fry the puris.
- Pooris are such a fun food experience for kids! So if you have kids to entertain, don’t hesitate to use a cookie cutter on your rolled out dough and make fun-shaped puris for the kids!
How to Fry Fluffy Crispy Pooris
There are a few technicalities involved in the poori-frying process. Here’s a quick checklist before you begin:
- Oil temperature: The pooris should be fried in hot oil to keep them from getting too oily or soggy. Do a temperature test in the beginning by putting a tiny piece of dough in the oil – it should sizzle and come to surface immediately. You can also add a pinch of salt to the oil which prevents puris from becoming oily.
- Best Oil for frying puris: Since pooris need to be fried in very hot oil, use oils with a high smoke point such as sunflower oil or rice bran oil. These will not smoke easily and will keep the oil clean
- Dropping the poori: Don’t just plop the rolled out poori flat onto the oil – Dangerous! The trick is to hold the poori vertically above the kadhai and gently slip it into the oil from one side.
- The fluff factor: Super crucial step – When the poori starts sizzling, pick up your skimmer and gently press the poori into the oil. As soon as the puri starts puffing up, turn it over and press it gently again from the other side. In a few seconds, the poori will start to become golden brown – that’s when it’s time to remove them. Each poori should take about 20-25 seconds to cook. You can roll them out before hand and fry them one after another. Or if you have someone to help you, you can fry them as and when they are rolled out.
Richa’s Top Tips
- Make the dough firm – A stiff dough (firmer than roti dough) helps the pooris puff up and keeps them from soaking in oil.
- Don’t skip the resting time – Let the dough rest for just 5–10 minutes, this relaxes the gluten enough to roll easily without making the pooris chewy.
- Skip the dry flour – Instead of dusting with dry flour (which burns in hot oil), dip each dough ball in a little oil before rolling to prevent sticking and keep the oil clean.
- Get the thickness right – Roll each poori to about 1 mm thickness, too thin and they won’t puff, too thick and they’ll stay doughy inside.
- Check your oil temperature – Drop a tiny bit of dough in the oil, it should sizzle up instantly. If it sinks, the oil’s too cold; if it burns quickly, it’s too hot. (Here’s our guide to testing oil for frying).
Frequently Asked Questions
Both are correct! Puri is the Hindi spelling, while poori is the anglicised version, they mean the same thing.
It’s best to make the dough fresh, but you can knead it 2–3 hours ahead. Keep it tightly covered at room temp, don’t refrigerate, or the pooris won’t puff well.
Usually it’s because the dough is too soft, they were rolled too thin, or the oil isn’t hot enough. Keep the dough firm, roll evenly, and test the oil before frying.
If the dough feels tough or cracks, it’s either too dry or hasn’t rested enough. Let it rest 5–10 minutes, then knead briefly with a few drops of oil to smooth it out.
Use an oil with a high smoke point, like sunflower or rice bran oil. They heat quickly, stay stable at high temperatures, and keep your pooris light and crisp.
Storage Tips
- Room temperature: Store fried pooris in an airtight container for up to 1 day. Line with paper towels to absorb excess oil and keep them from going soggy.
- Fridge: Not ideal, but if you must, refrigerate cooled pooris in an airtight container for up to 2 days. Please note that they will not stay crisp, and will soften.
- Freezer: Freeze dough balls (not rolled or fried pooris) for up to 1 month. Thaw completely, roll, and fry fresh.
- Reheating: Reheat pooris on a hot tava for 20–30 seconds on each side until they regain some puff. Avoid microwaving, it makes them chewy and limp.
Customisation Ideas
Want to give your pooris a fun twist? Try these simple tweaks to make them a little different each time without complicating the recipe:
- Try spiced pooris – Mix a pinch of turmeric, red chilli powder, and crushed black pepper into the dough for a gentle kick.
- Add ajwain or carom seeds – Knead a pinch into the dough for a subtle earthy flavour that also aids digestion.
- Mix in spinach purée – Swap part of the water with spinach purée to get bright green, nutrient-packed pooris.
- Use beetroot juice – Add beetroot juice instead of water for naturally pink pooris that are perfect for festive platters.
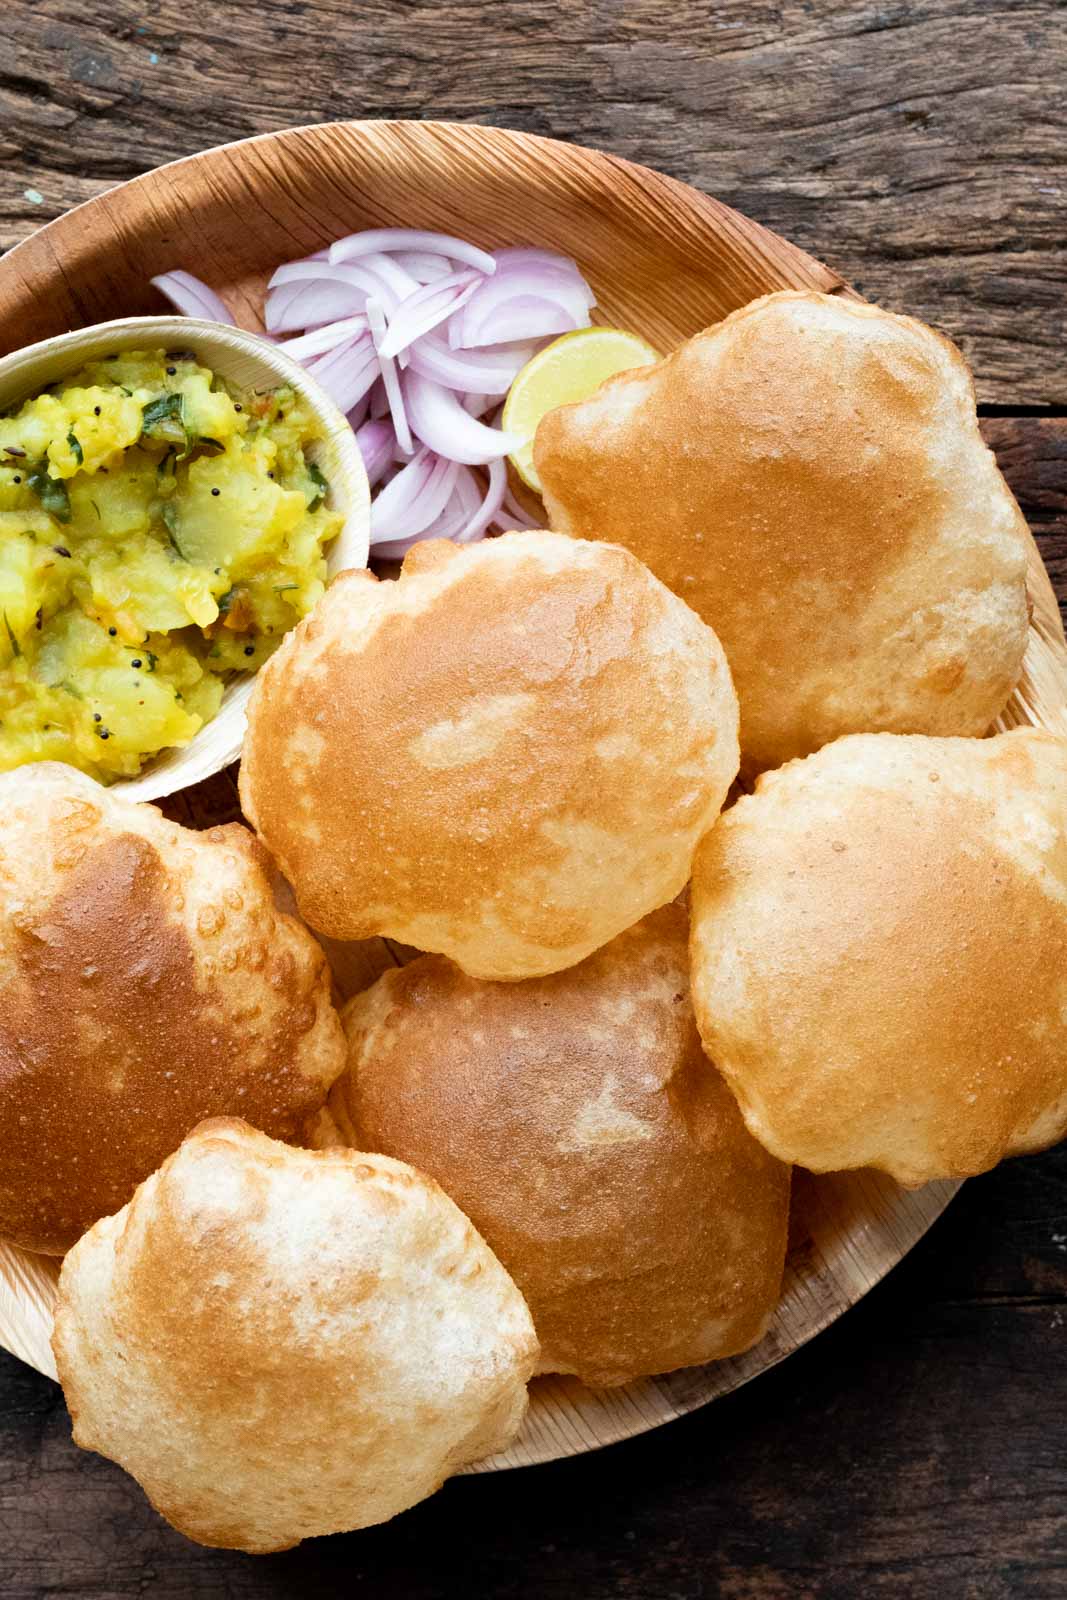
Best accompaniments for Poori
Here’s a list of our favourite accompaniments for pooris! Some of these are super popular, some are an acquired taste! Here’s a list of side dish options to serve with your pooris:
- Chana Masala – The best, spicy, north Indian dish to go with pooris – work up your appetite before this heavy meal
- Poori Bhaji – Simple potato-veggie-loaded bhaji and poori – all time favourite
- Poori Aloo – Ignore the carbs and dig into this sinfully satisfying dry side dish made of aloo, onions, peas, etc.
- Poori Chutney – Most restaurants in South India serve poori with coconut chutney, and it is so addictive!
- Poori Korma – A richer variant of poori bhaji, this veggie korma one is for special occasions
- Poori Aamras – This combo is soooo underrated! When mango season is on, this is literally all we eat!
- Poori Shrikhand – Sweet and so delicious, this one is for all those with that insatiable sweet tooth
- And if you are craving pooris but don’t feel like making an accompaniment, grab that bottle of achar and a bowl of raita, and tuck in!
Making perfect pooris isn’t as tricky as it looks, once you get the dough right and the oil hot, it’s pure fun watching them puff up like golden balloons. Serve them fresh, hot, and crisp while they’re at their fluffiest, and don’t forget to pair them with something delicious on the side.
And if you try this recipe, tag me on Instagram @my_foodstory, I’d love to see your poori plates!
Watch How to make the Perfect Pooris
How to make the Perfect Pooris
Ingredients
- 2 cups Whole Wheat Flour
- 1/2 tablespoon Sooji (optional)
- ½ tsp Salt
- 1/2 cup Water + extra if required
- 1 1/4 teaspoon Oil for the dough
- 1 1/2 -2 cups Oil for frying (see note 2)
Instructions
-
Mix together flour, sooji and salt in a bowl and add half cup water a little at a time to make a stiff dough. If the dough is too dry and doesn’t come together, add more water a teaspoon at a time. The dough should be stiffer than roti dough, and should not be too pliable. At the same time, you shouldn’t see any dried bits of dough. Once the dough has been kneaded well, add 1 1/4 teaspoon oil and knead again for a minute or two to get a smooth dough. Cover this with a cloth and set this aside for 5-10 minutes.
-
Once the dough has rested, roll it into a log and divide it into small gooseberry sized balls (slightly smaller than limes). Roll each piece of dough into smooth balls and then press it slightly. Repeat this till all the balls are formed and cover and set them aside.
-
Heat oil in a kadhai or deep pan for frying. To roll out the pooris, take one ball, dip it slightly in oil and roll it out into a circle to 1 mm thickness. Don’t worry if you don’t get the perfect circle – just make sure it’s evenly rolled.
-
Make sure the oil is very hot. To check, take a small pieces of dough and put it in oil. If it sizzles immediately to the top, the oil is ready for frying.
-
Take the rolled out dough, hold it vertically above the oil near the edge of the kadhai and gently slide it in (don’t plop it in or the oil will splash back). The puri should immediately sizzle to the top. Start pressing it with the back of the spoon and as soon as it starts to puff up, flip it over gently. Keep pressing it gently as it puffs up. Once the puri is golden brown from the bottom, take it out. Repeat this till all the puris are fried.
Video
Notes
- Add 1/4 teaspoon to the oil to the dough if you’d like. This keeps the pooris from becoming oily
- The best oils for frying pooris are sunflower oil and rice bran oil because they have a high smoke point
- Make sure the dough is rolled out evenly
- Semolina or sooji is an optional ingredient in pooris – it helps them become crisp and stay crisp for longer. I’ve used it in the video but don’t generally use it while making them at home
Nutrition
This article was researched and written by Harita Odedra.
More Bread Recipes
Indian Recipes
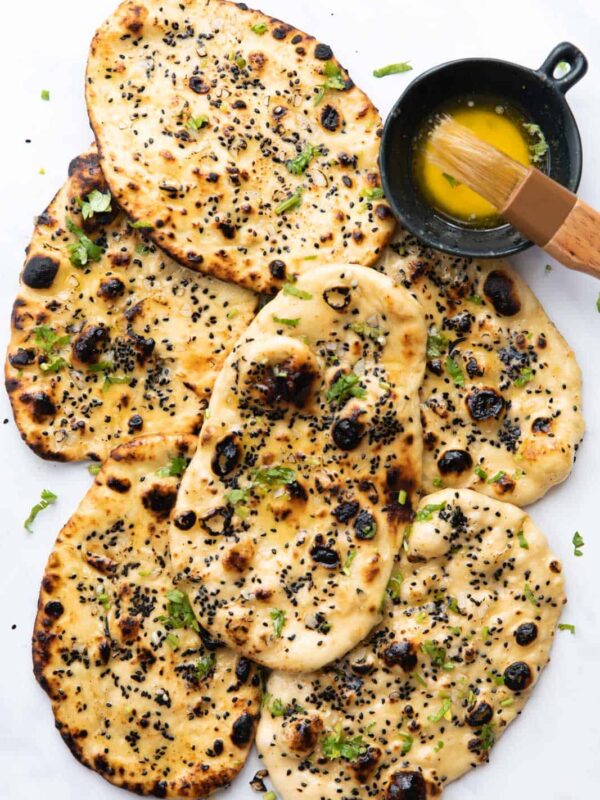
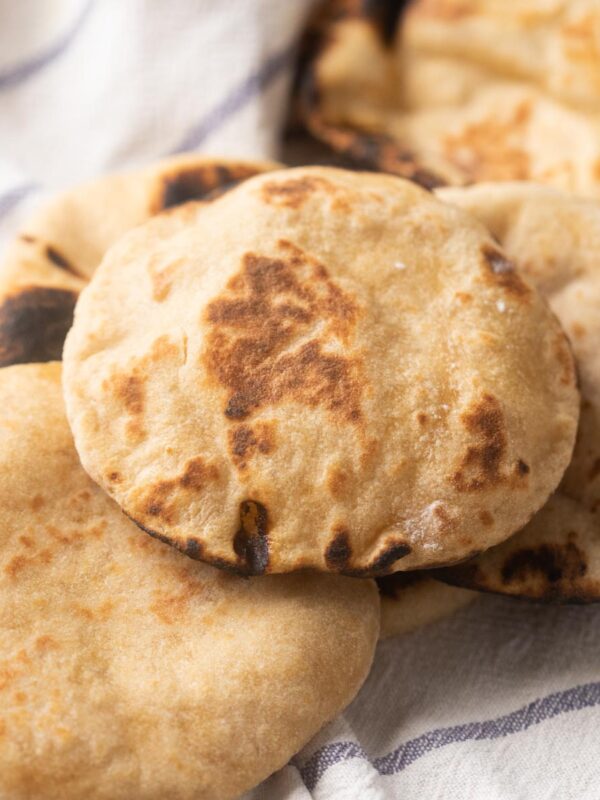
No Yeast Naan in 30 minutes (on the stovetop)
Side Dishes
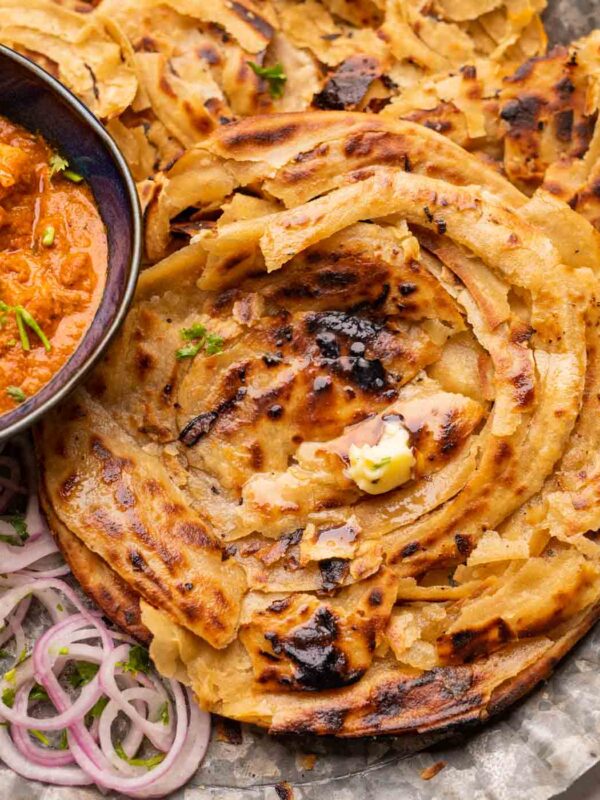
Lachha Paratha | Flaky Layered Flatbread
Vegetarian Recipes
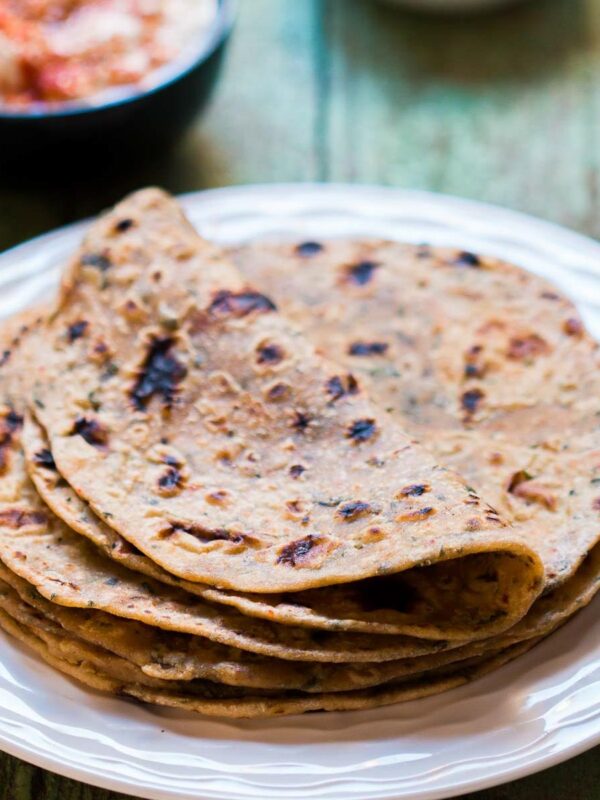
Whole Wheat Pita Bread Recipe
The post Perfect Pooris – Fluffy and Light as air! appeared first on My Food Story.


0 Comments