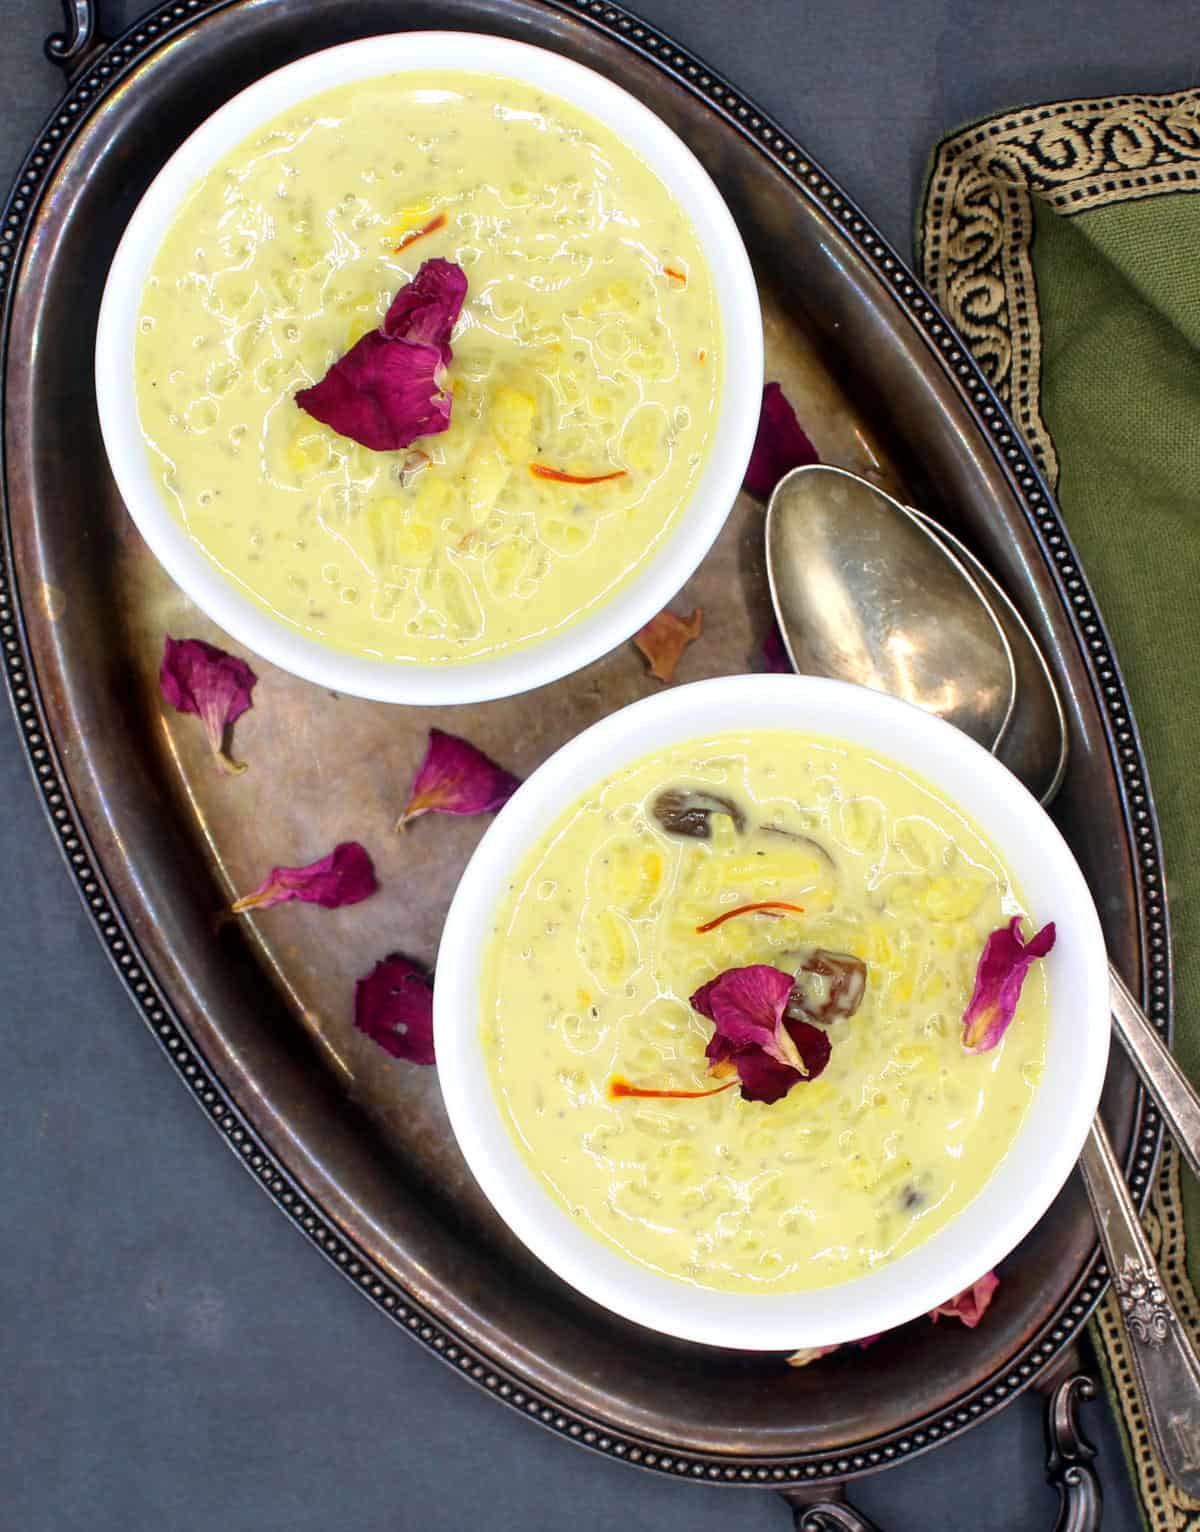
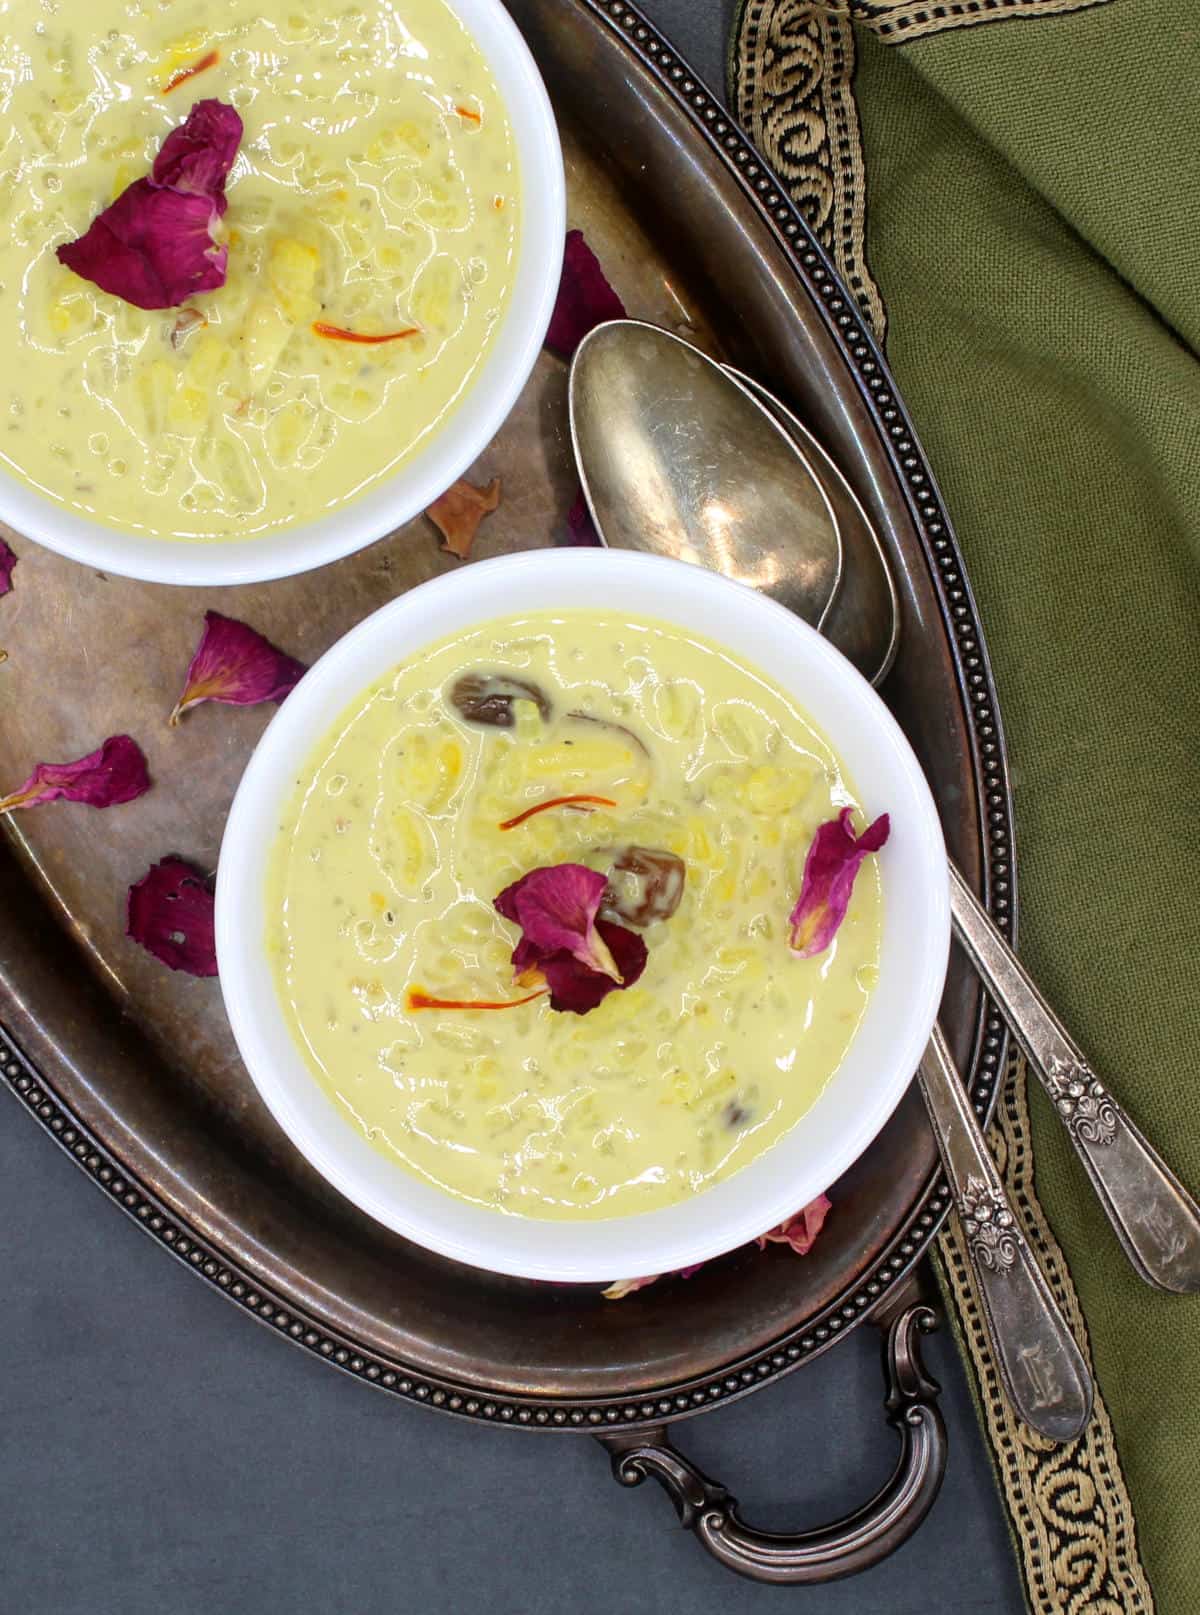
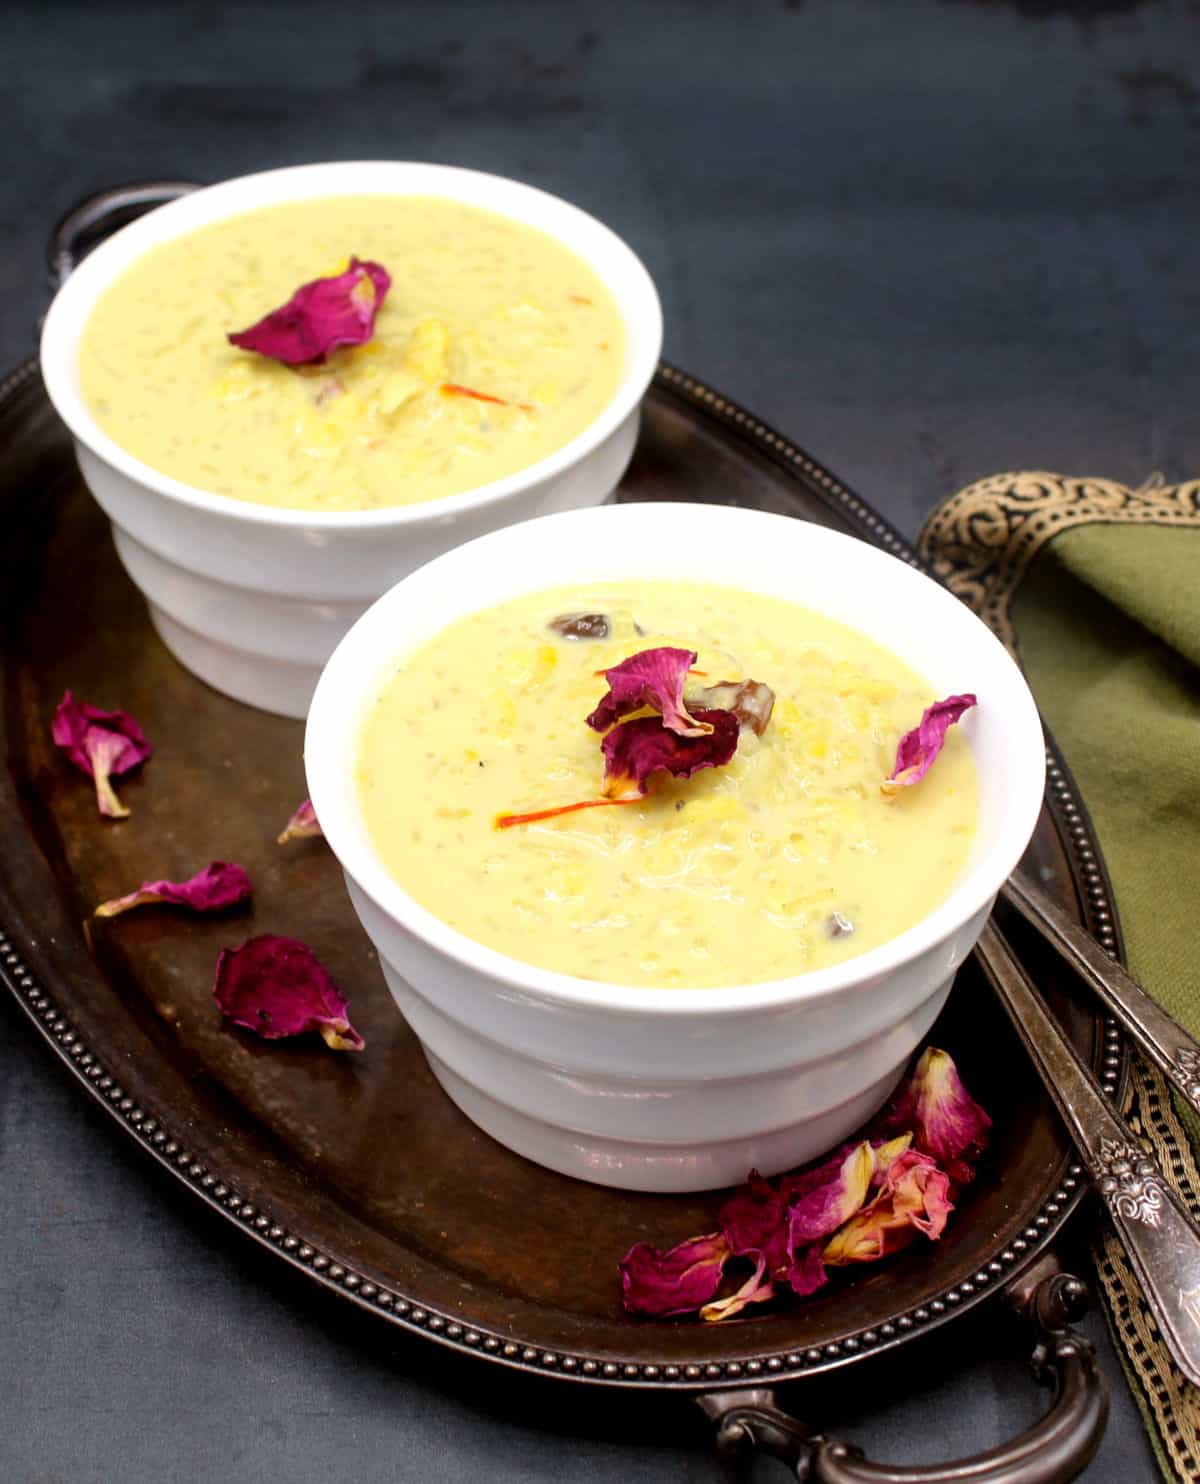
Offer this vegan kheer to your guests at Diwali and watch them gorge on it without the faintest notion that it's dairy-free. This Indian rice pudding is better than the version with milk: it's smooth and creamy with the aromatic flavors of cardamom and saffron woven through. The recipe is nut-free, although you can use nuts as a garnish. It is also soy-free and gluten-free.
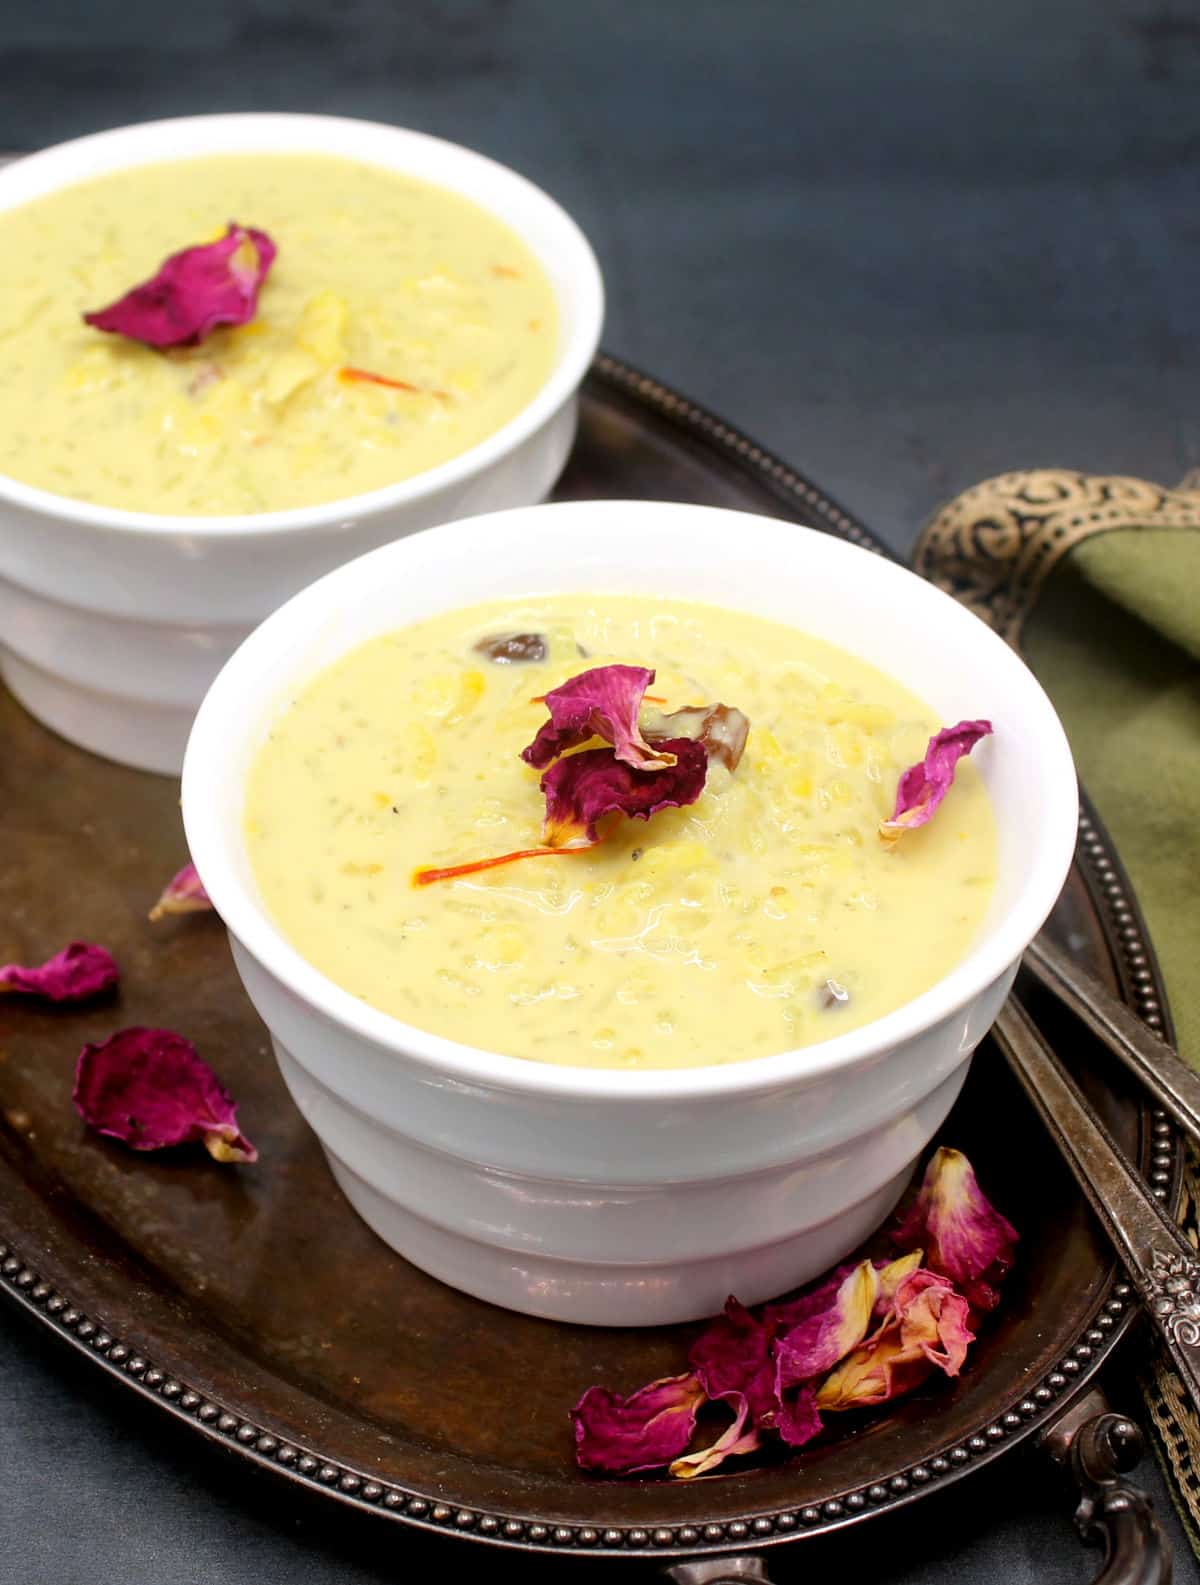
This vegan kheer was the first Indian dessert I veganized and shared with you all the way back in 2008, and it's always been a hit with everyone who's made it. It's one of the Indian sweets I make most often because it's so easy and needs just a few ingredients. Anyone, newbie or experienced, can make it successfully.
It is also absolutely delicious, guaranteed to be loved by anyone you share it with.
I've updated my recipe to make this kheer even more luscious, with ingredients that most likely are already in your pantry. Back then I used almond milk instead of milk. But with so many more dairy free milk options now available I've switched to the creamier oat milk, which also keeps this recipe nut-free for those of you who don't or can't eat nuts.
I hope you will try this delicious vegan kheer and if you do be sure to come back and let me know.
A happy Diwali to all my readers. May your life be filled with all things bright and wonderful in the year to come.
What is a kheer?
A kheer is a sweet dessert pudding cooked across India, where it's known by different names, including payasam, payesh, kheerni and phirni. Versions of it are made by reducing milk with sugar or jaggery and grains, including rice, wheat and millets, lentils like chana dal, or rice vermicelli noodles.
Kheer is often flavored with cardamom, rose water or kewra water, and it's garnished with golden raisins, nuts and saffron.
A kheer made simply by reducing milk without any other grains or legumes added to is called a rabri or basundi. Phirni is a kheer made with broken rice and set in earthen ramekins. The porosity of the ramekins causes the phirni to thicken further and set.
Why you will love this vegan kheer
- It is dairy-free but delicious and as authentic as can be. You'd be hard pressed to tell the difference between this dairy free rice kheer and one made with milk, and that's because of the many layers of flavor we will build with just a few ingredients.
- It is easy enough for anyone to make it. Indian sweets like gulab jamun and barfi are delicious. But if you're looking for a really easy dessert that also tastes amazing, you can't beat this vegan kheer. All you really need to do is stir the milk as it reduces.
- It is rather healthy. This recipe has sugar, sure, but it also has rice and non-dairy milk. A kheer is not health food, but if you are looking for a sweet indulgence you could do much worse. If you are sugar-free you can make this recipe with stevia or erythritol.
- It is everyone friendly. This recipe is nut-free, soy-free and gluten-free and it's vegan, of course. Kids love kheer, so this is a great, healthy-ish snack to offer them any time of the year.
Frequently asked questions
Kheer has a smooth, sweet, well-rounded flavor with layers of flavor from typically Indian dessert ingredients, like cardamom and saffron, which add both warmth and aroma.
Kheer in India is a collective term for milk-based puddings. A rice kheer, specifically, is similar to a western style rice pudding, but it is usually runnier. While a typical rice pudding would be flavored with cinnamon, an Indian kheer is flavored with cardamom and, sometimes, saffron.
I love to make kheer with basmati rice, because the delectable aroma of the basmati rice adds to the deliciousness. While basmati has starch, like all varieties of rice, it is also not too starchy, which is perfect for kheer. The starch is enough to thicken the pudding without making it too thick the next day because you want the kheer to be slightly runny.
You can use any sweetener in this recipe, including stevia or erythritol. You can also use natural sweeteners, including date syrup and maple syrup. The syrups would darken the kheer but it would still be delicious.
Coconut milk marries well with Indian sweets, so you can make this recipe with coconut milk. Don't use full-fat milk, however, which will separate. Use the kind you buy in a carton.
Expert tips
- Cook the kheer over low to medium low heat. It might be tempting to blast the heat up so the milk reduces fast, but this will result in the rice not cooking properly and as a result the kheer won't thicken and have the right consistency or flavor.
- Choose a creamy milk for best results. Oat milk, soy milk and cashew milk are all good choices.
- Add vegan condensed milk or vegan whipping cream for a richer consistency. Replace one cup of the milk with vegan condensed milk or 1 cup of vegan whipping cream to add more richness and depth to the kheer. If you use condensed milk, which is already sweetened, you will need to reduce the amount of sugar in the recipe. Add ¼ cup less sugar, taste, and add more only if needed.
- Stir frequently. This is not a project you want to walk away from. It will take about 45 minutes for the rice to cook fully and the milk to reduce to the right consistency. You can multitask in the kitchen during this time but be sure to stir the kheer every few minutes to make sure everything is cooking evenly. Often a skin will form on top of the milk. Just stir it back in.
- Turn the heat off just before the kheer reaches your desired consistency. Kheer will continue to thicken for a bit as it cools, so turn it off just a little bit before it reaches the thickness you desire.
Troubleshooting tips
- Milk separated while reducing. Don't reduce the milk over a high flame. Always maintain the heat at low to medium-low, depending on the heating power of the burner you are using, and make sure you stir the milk frequently. Homemade milk can also separate more easily when heated. I use store bought oat milk and sometimes soy milk for the kheer and it works perfectly.
- Rice was not cooked. Always soak the rice for an hour before you begin making the kheer (discard the water before you add the rice to the pot). The rice will take about 15 minutes to cook in the milk over medium low heat and it will continue to soften and break down and release its starches as you continue to reduce the milk. This will lead to a creamy kheer. If the rice remained uncooked, it was probably either because you didn't soak it first, or you didn't give the rice enough time to cook with the milk. Just continue to cook the kheer over low heat until the rice is cooked.
- Kheer is too thin: If the kheer is too runny for your liking, simply continue to reduce it for longer until it reaches the right consistency.
- Kheer is too thick: If the kheer ends up being too thick, or has thickened a lot upon standing, just add a little milk to it to thin it out and warm through. Check and add more sugar if needed.
- Kheer thickened upon standing. The kheer could thicken further after standing for a few hours or after being refrigerated. If that happens, just add a bit more milk to thin it out.
Ingredients and substitutes
- Oat milk. Any thick, creamy non dairy milk will do. Cashew milk and soy milk are good choices.
- Basmati rice. This is hands down the best rice for kheer, both because it's aromatic and also because it's starchy but not too starchy, which gives you better control over how thick or thin you want the pudding to be.
- Sugar. I used cane sugar this time. Any sugar of your choice is fine, or you can use a sweetener like stevia or erythritol for a sugar-free version. You can also use natural sweeteners like date syrup, maple syrup or agave nectar but keep in mind they will darken the color of the kheer.
- Ground cardamom. I often get this question so I'll clarify that you should always, always use the delicately flavored and aromatic small green cardamom pods for Indian desserts, never brown or black cardamom. The larger brown cardamom has a pungent, sharp aroma that works better in savory Indian dishes.
- Golden raisins and nuts. I usually add sliced almonds or cashews to kheer, but walnuts and pistachios are also wonderful additions. You can skip the nuts if you are nut-free, and use pumpkin or watermelon seeds.
- Saffron. You can consider this an optional ingredient, but if you have it, use it here. It adds a lovely, warm aroma to the kheer and builds upon the many layers of flavor here.
- Pure vanilla extract. If you've made my kheer or other Indian dessert recipes before, you know I always ask you to add a little bit of pure vanilla extract to them. The vanilla helps round out the flavor of the non dairy milk nicely, bringing it closer to the sweet notes in cow milk, and adding to the authentic flavor.
How to make vegan kheer
- Soak the rice: Place the rice in a bowl and pour in enough water to cover by two to three inches. Soak for 30 minutes to an hour, then strain but don't wash the rice further-- you don't want to lose all the good starch in there that will help thicken the pudding.
-
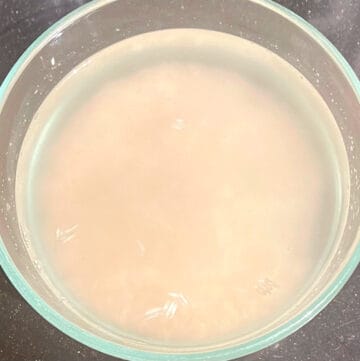 Soak rice in water for 30 minutes to an hour.
 -
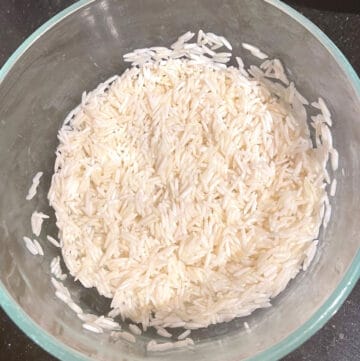 Rice should have absorbed some water after soaking.
- Heat the milk and rice. Place the milk in a large saucepan or Dutch oven. Add the drained, soaked rice and cook over low to medium-low heat for about 15-20 minutes or until the rice grains are really soft. Stir frequently, at least every couple of minutes. Don't cover the pot.
- Add the sugar and stir it in. Continue cooking and stirring for another 15 minutes. The milk should have thickened quite a bit by this time due to reduction and as the starch from the rice is released into it.
-
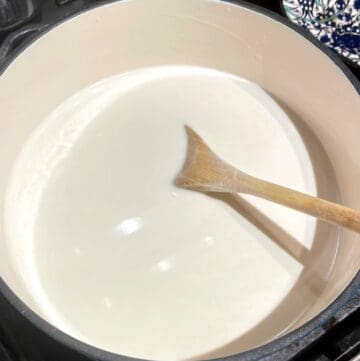 Milk and rice cooking.
 -
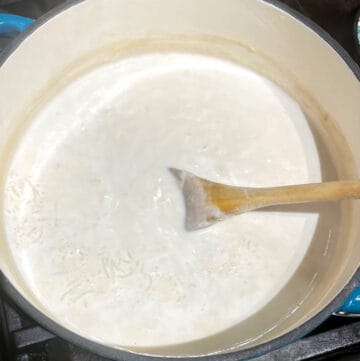 Rice is cooked and visible at the top.
 -
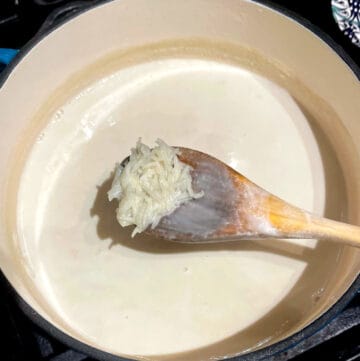 Make sure the rice is very soft.
 -
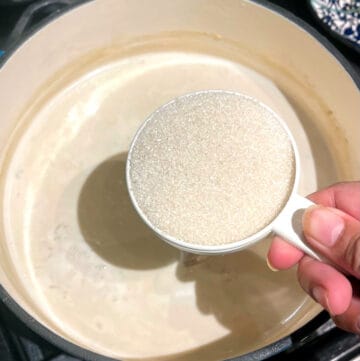 Add sugar.
- Stir in the cardamom, raisins and nuts, if using. Continue to cook and stir until the milk has thickened further and the rice grains have swollen quite a bit and are visible on the top. At this time stir in the saffron, if using. Let the kheer cook another five minutes.
- Stir in the pure vanilla extract. Immediately turn off the heat, stir, cover and let the kheer stand until it's at room temperature. The saffron will continue to release its beautiful, golden color into the kheer.
-
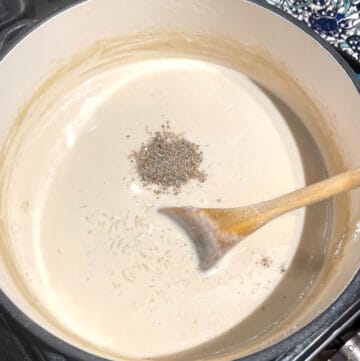 Stir in cardamom and cook for a few minutes.
 -
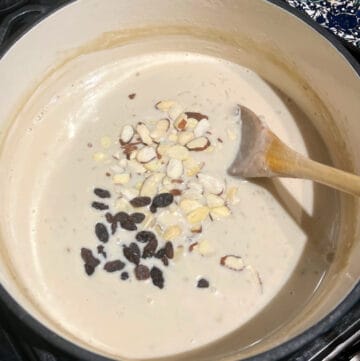 Add the nuts, if using, and raisins.
 -
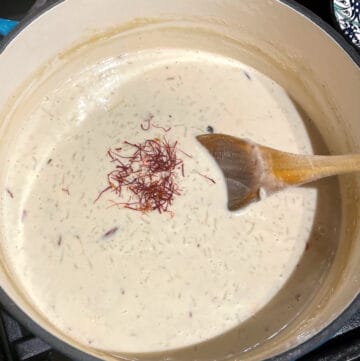 Add the saffron to the kheer.
 -
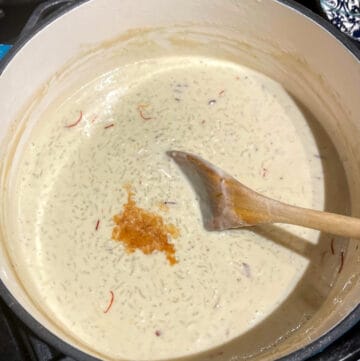 Stir in pure vanilla extract.
- Serve chilled or at room temperature. Kheer is usually served at room temperature, although I love it chilled.
Storage instructions
- Refrigerate: This non dairy kheer can be refrigerated up to five days.
- Freeze: You can freeze the kheer in a freezer safe container for up to three months.
- Reheat: Thaw frozen kheer overnight in refrigerator and reheat on the stovetop over medium-low heat. If the kheer has thickened quite a bit add a little more milk and sugar if needed.
More Indian vegan desserts
Vegan Kheer (Indian Rice Pudding)
Equipment
-
Dutch oven or heavy bottomed saucepan or pot.
Ingredients
- ½ cup basmati rice
- 6 cups oat milk (can substitute one cup of the oat milk with vegan condensed milk or vegan heavy whipping cream or single oat cream for a richer consistency).
- ½ cup sugar (can use date syrup, maple syrup, agave nectar, stevia or erythritol).
- ½ teaspoon ground cardamom
- 2 tablespoons sliced almonds (optional. Can use pumpkin seeds instead).
- 2 tablespoons raisins
- ½ teaspoon vanilla extract
- A generous pinch saffron
Instructions
-
Soak the rice: Place the rice in a bowl and pour in enough water to cover by two to three inches. Soak for an hour, then strain but don't wash the rice further-- you don't want to lose all the good starch in there that will help thicken the pudding.
-
Heat the milk and rice. Place the milk in a large saucepan or Dutch oven. Add the drained, soaked rice and cook over low to medium-low heat for about 15-20 minutes or until the rice grains are really soft. Stir frequently, at least every couple of minutes. Don't cover the pot.
-
Add the sugar and stir it in. Continue cooking and stirring for another 15 minutes. The milk should have thickened quite a bit by this time due to reduction and as the starch from the rice is released into it.
-
Stir in the cardamom, raisins and nuts. Continue to cook and stir until the milk has thickened further and the rice grains have swollen quite a bit and are visible on the top. At this time stir in the saffron, if using. Let the kheer cook another five minutes.
-
Stir in the pure vanilla extract. Immediately turn off the heat, stir, cover and let the kheer stand until it's at room temperature. The saffron will continue to release its color into the kheer.
-
Serve chilled or at room temperature. Kheer is usually served at room temperature, although I love it chilled.
Notes
- Cook the kheer over low to medium low heat. It might be tempting to blast the heat up so the milk reduces fast, but this will result in the rice not cooking properly and as a result the kheer won't thicken and have the right consistency or flavor.
- Choose a creamy milk for best results. Oat milk, soy milk and cashew milk are all good choices.
- Add vegan condensed milk or vegan whipping cream for a richer consistency. Replace one cup of the milk with vegan condensed milk or 1 cup of vegan whipping cream to add more richness and depth to the kheer. If you use condensed milk, which is already sweetened, you will need to reduce the amount of sugar in the recipe. Add ¼ cup less sugar, taste, and add more only if needed.
- Stir frequently. This is not a project you want to walk away from. It will take about 45 minutes for the rice to cook fully and the milk to reduce to the right consistency. You can multitask in the kitchen during this time but be sure to stir the kheer every few minutes to make sure everything is cooking evenly. Often a skin will form on top of the milk. Just stir it back in.
- Turn the heat off just before the kheer reaches your desired consistency. Kheer will continue to thicken for a bit as it cools, so turn it off just a little bit before it reaches the thickness you desire.
- Milk separated while reducing. Don't reduce the milk over a high flame. Always maintain the heat at low to medium-low, depending on the heating power of the burner you are using, and make sure you stir the milk frequently. Homemade milk can also separate more easily when heated. I use store bought oat milk and sometimes soy milk for the kheer and it works perfectly.
- Rice was not cooked. Always soak the rice for an hour before you begin making the kheer (discard the water before you add the rice to the pot). The rice will take about 15 minutes to cook in the milk over medium low heat and it will continue to soften and break down and release its starches as you continue to reduce the milk. This will lead to a creamy kheer. If the rice remained uncooked, it was probably either because you didn't soak it first, or you didn't give the rice enough time to cook with the milk. Just continue to cook the kheer over low heat until the rice is cooked.
- Kheer is too thin: If the kheer is too runny for your liking, simply continue to reduce it for longer until it reaches the right consistency.
- Kheer is too thick: If the kheer ends up being too thick, or has thickened a lot upon standing, just add a little milk to it to thin it out and warm through. Check and add more sugar if needed.
- Kheer thickened upon standing. The kheer could thicken further after standing for a few hours or after being refrigerated. If that happens, just add a bit more milk to thin it out.
Nutrition
Love vegan almond kheer? Check out more Indian vegan recipes on Holy Cow Vegan.
The post Vegan Kheer (Indian Rice Pudding) appeared first on Holy Cow Vegan.
The post Vegan Kheer (Indian Rice Pudding) appeared first on Holy Cow Vegan.

0 Comments